No parts required.
Tools Required:
- Philips #1 bit or screwdriver (w/ long handle/extension)
- Electric screwdriver (recommended, but not required)
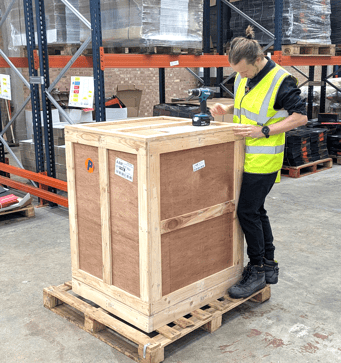
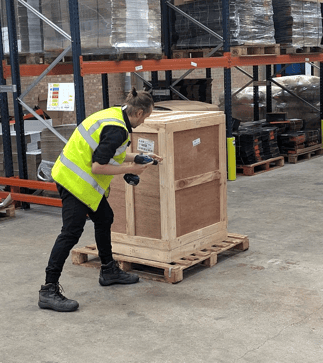
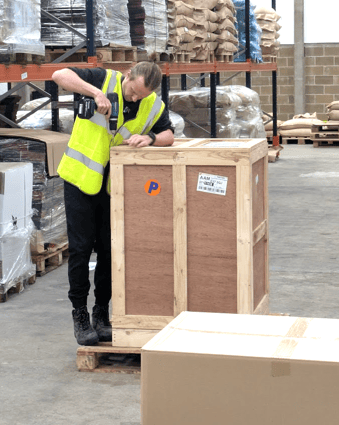
Process:
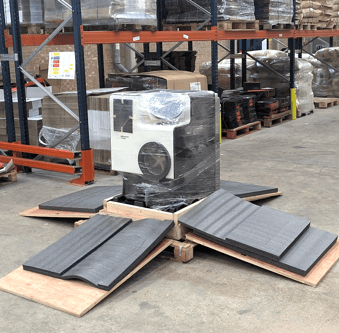
- Using your Philips #1 bit/screwdriver, remove the screws securing the side and top panels of the crate together. If planning to store as a complete crate, remove the front side of the crate, and then all other sides and the top as one piece and slide over the back. If packing flat or disposing, separate all panels from each other.
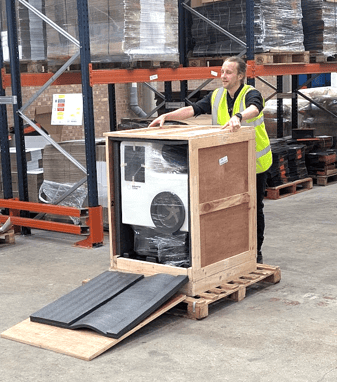
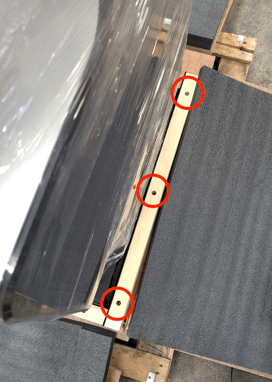
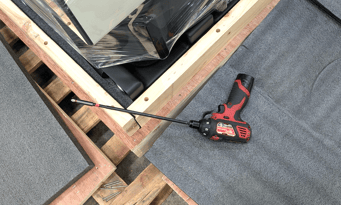
- There are deep-set screws holding each of the side planks (circled in red below). An extension may be necessary to reach these. Remove these screws and remove the side planks to gain access to the handles of the roaster.
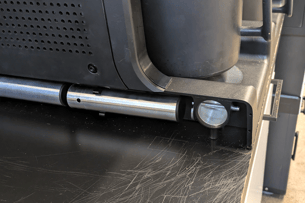
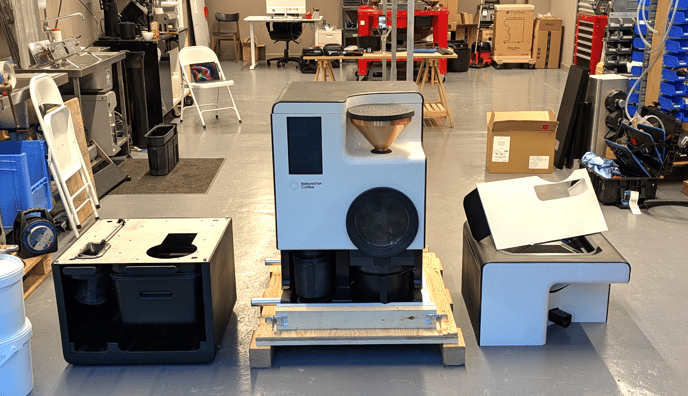
- Set up the handles on the side to lift the roaster or prepare for Continuous Roasting set up (LINK)