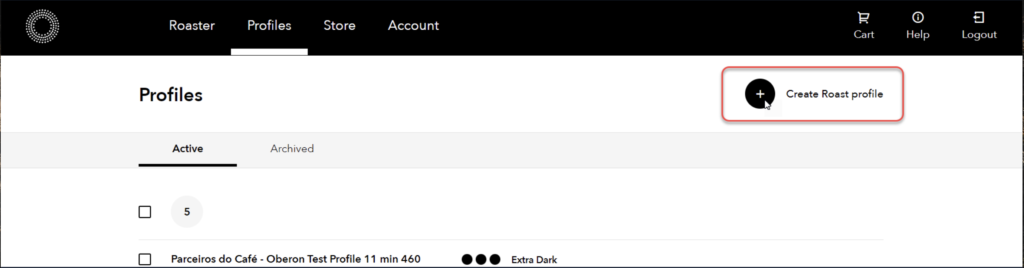
Once logged into the Roast Manager, you will by default be taken to the Profiles page unless recently logged in and working on another tab. If not on the Profiles section, click it to move there. Click Create Roast Profile to begin the process.
Step 1: Name Roast Profile
In the New Roast Profile menu:
- Provide the name of the roast profile you want to get.
- Select the type of roast, ie light to dark.
- Select the origin of the beans.
- Select a cover for the roast to display on the Bellwether roaster.
Click Continue to go to the next step.
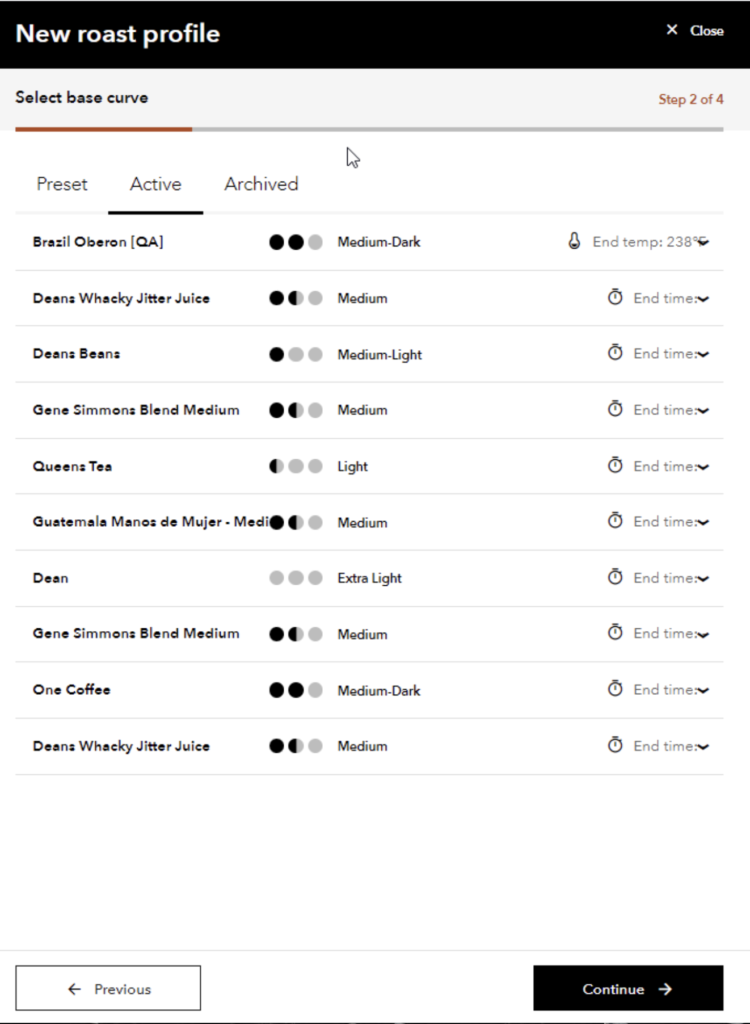
Step 2: Select Base Curve
In Select Base Curve, you can select a base curve for your roast. There are three categories for your base curve:
1. Preset
In Preset, you have four base options. These are generic roast levels upon which you can add your own flair.
- Light
- Medium
- Medium/Dark
- Dark

2. Active
In the Active section, you can select your base curve on an existing roast, building on past work. Here, roast profiles created by or shared with you can be selected and used as a base curve, which you can further modify later.
3. Archived
The Archived tab allows you to use an archived or discontinued roast profile as your base curve. Perhaps the profile had more of a following than you realized, or just needed to be tweaked a little.
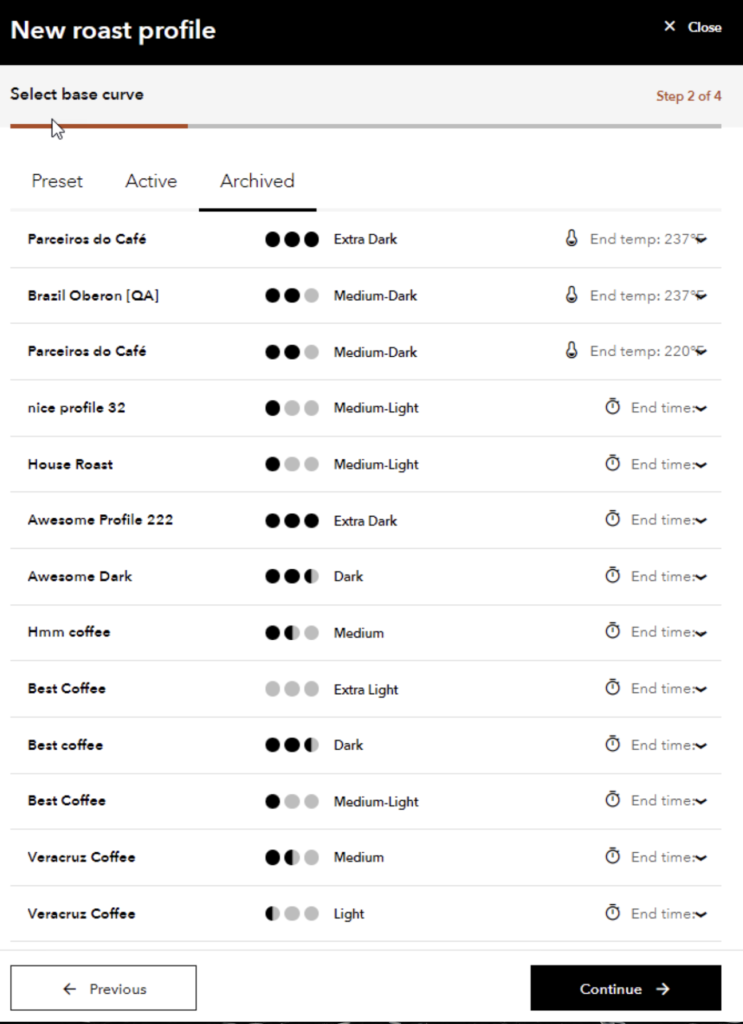
Select the desired roast profile curve to use as your base curve, and click Continue. For this example, we will simply select Medium/Dark from the Preset tab.
Step 3: Edit Curve
In Edit Curve, you can make any changes you want to the base curve selected in the previous step.
You can edit temperature either by clicking any point on the curve (the point will be highlighted and turn black), and dragging it to the desired temperature/location, or by clicking the + or – symbol under Change Temp.
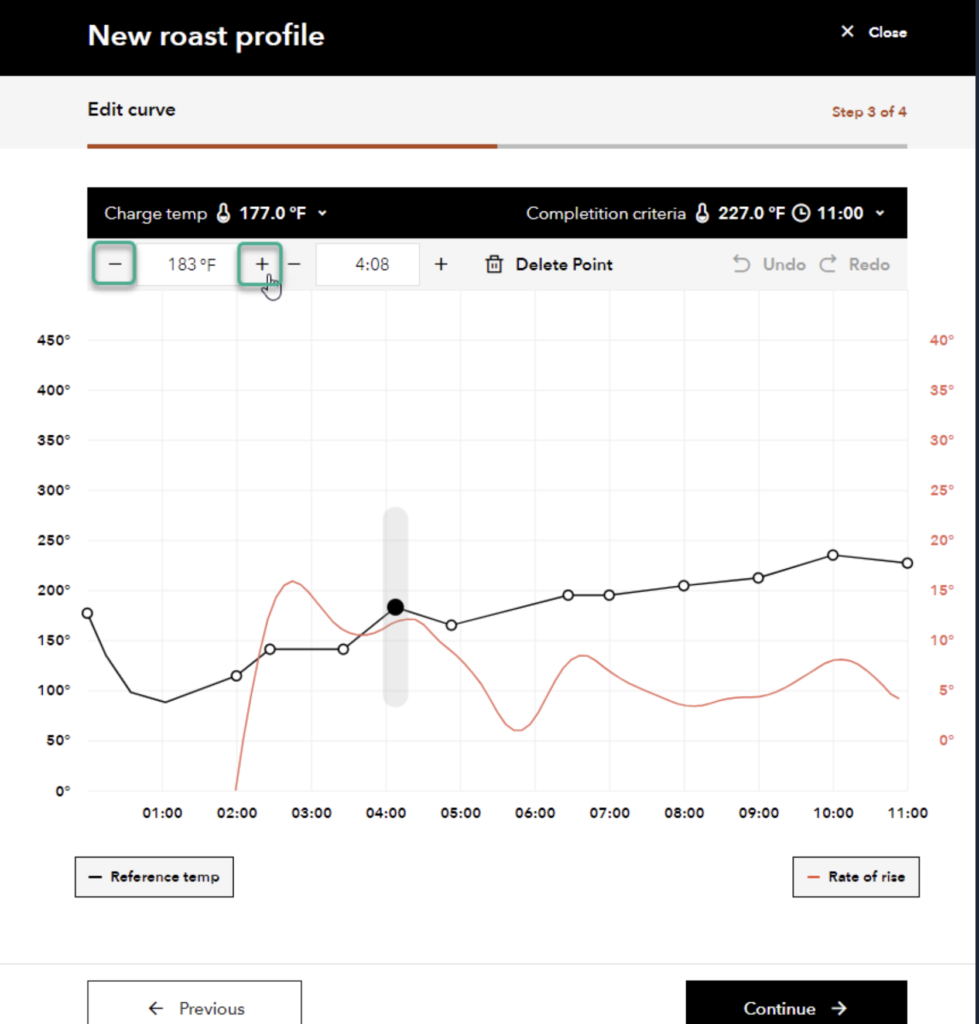
You can also edit the timestamp of a given point in the curve by selecting a point and dragging it to the desired point, or by adding or subtracting seconds from the time listed for the selected point.
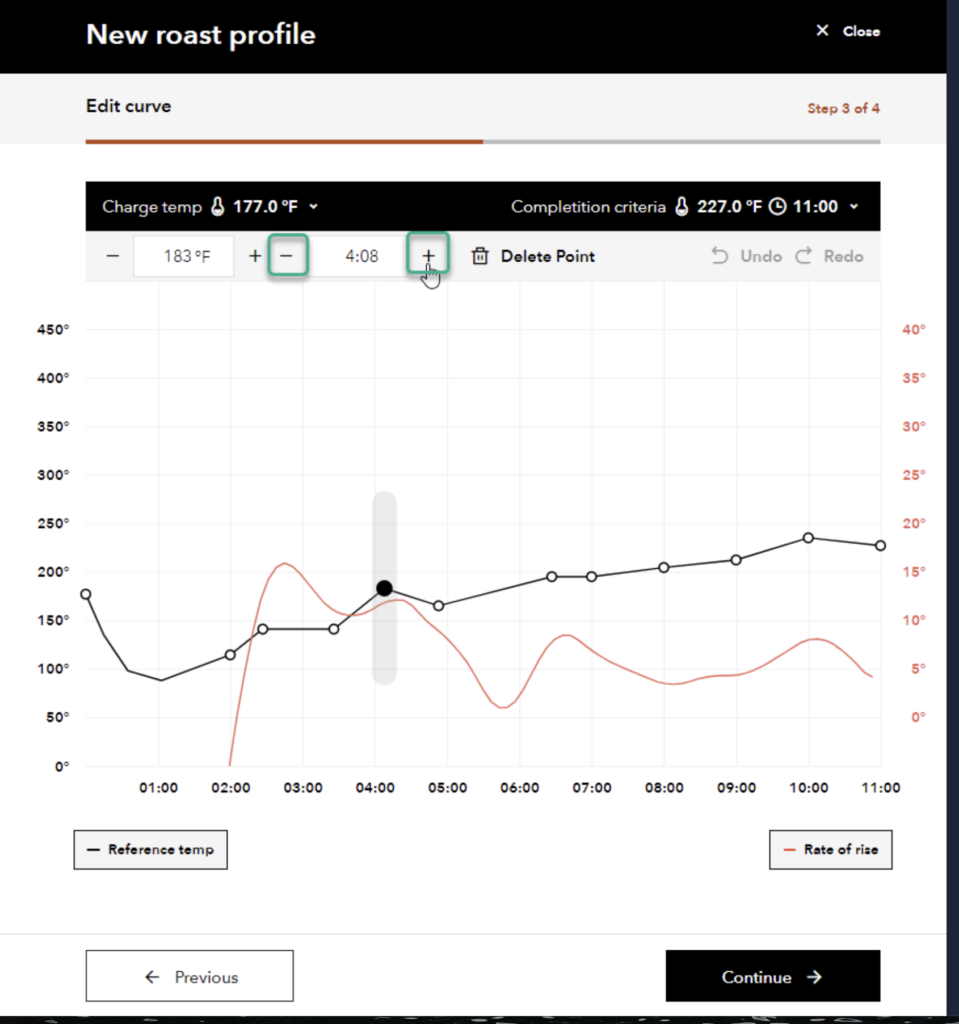
If you would like the curve to change temperature more slowly, you can delete points from the roast, making the rise or drop in temperature more gradual. Simply select the point, and click the trashcan icon beside Delete Point.
Once you have made the desired edits to your curve, click Continue.

Please note : Completion criteria defaults to time.
Step 4: Add Details
In Add Details, you can provide information to your customers about what makes your new roast profile special. Three sections are provided:
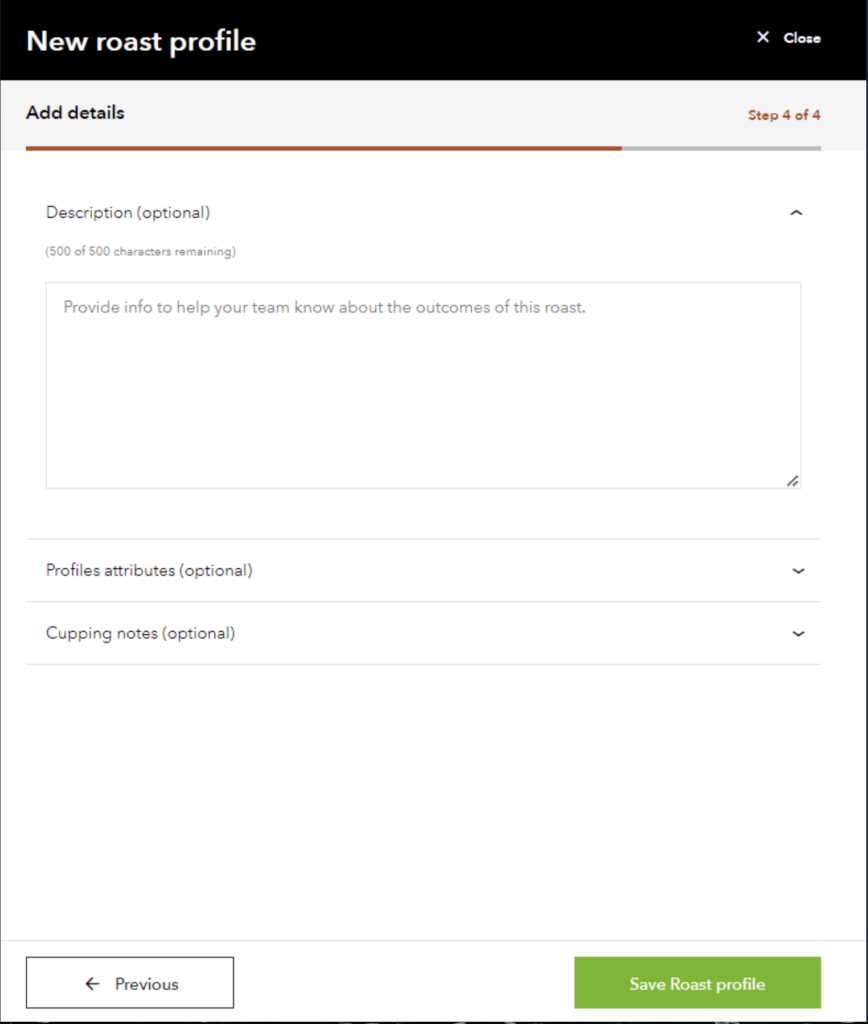
Description
Here you can wax poetic about the Roast Profile you have created, describing flavor, origin, the story behind the farm providing the beans, or whatever you wish to say.
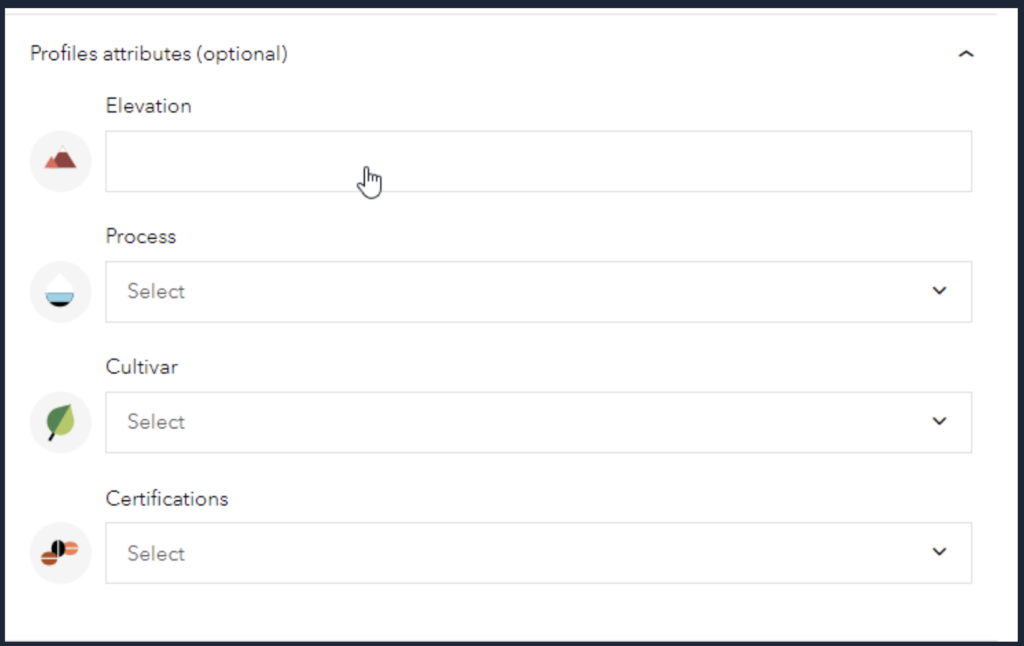
Here you can provide additional details about the beans used in your roast, including elevation (height at which the beans were grown), Process used (honey, natural, others), Cultivar (type of coffee bean), and any certifications that may apply (ie Biodynamic, Fair Trade, etc.).
Cupping Notes
Here you can add information about the flavors brought out in your coffee by modifying the flavor wheel. Here we see that this roast should deliver hints of coconut and molasses.

Step 5: Save Roast Profile
Click Save Roast Profile. Your roast profile is completed and can be made available to the Bellwether Roaster.