Starting A Roast
Configuring your Series 2 Bellwether to roast the coffee beans according to an existing Roast Profile is simple. The following steps outline the process.
1. Power on the roaster
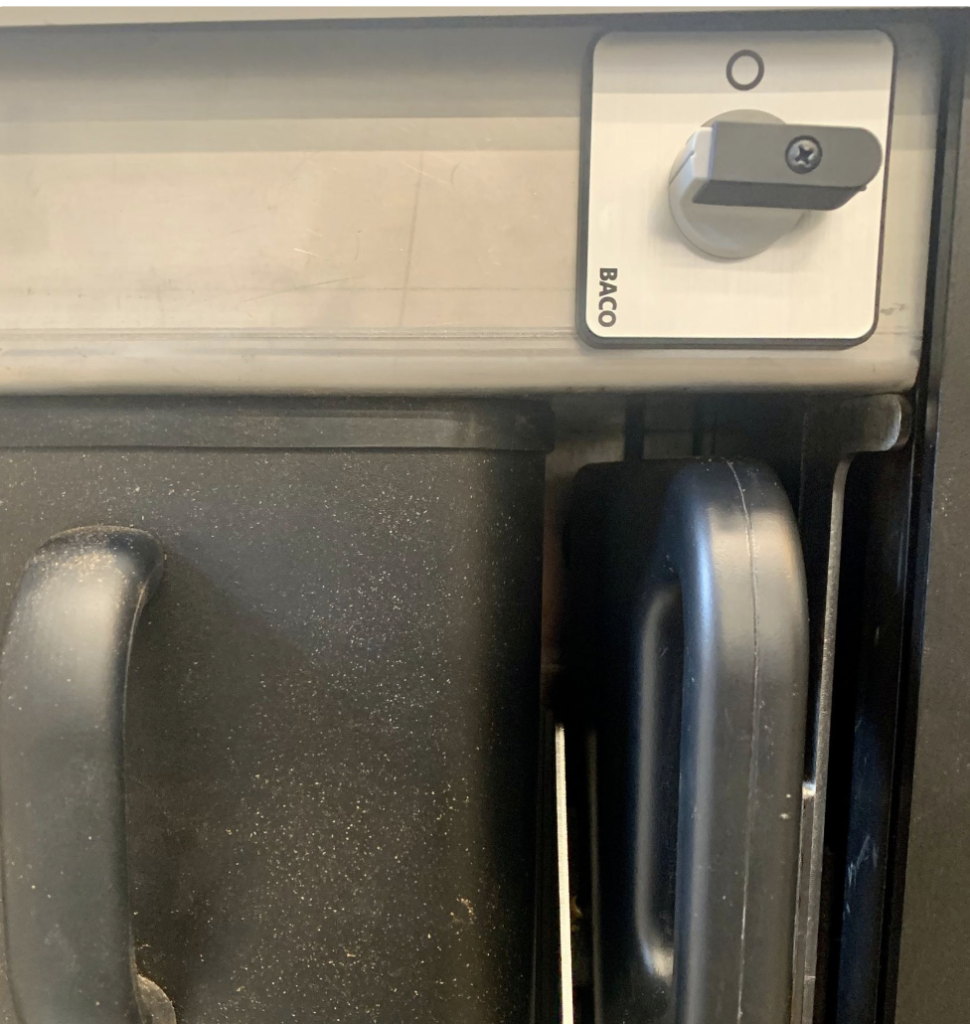
Wait for the screen to load. The power switch can be found in the top corner of the maintenance cubby, as shown below:
The Screen will boot and then you will be asked to enter your designated PIN.


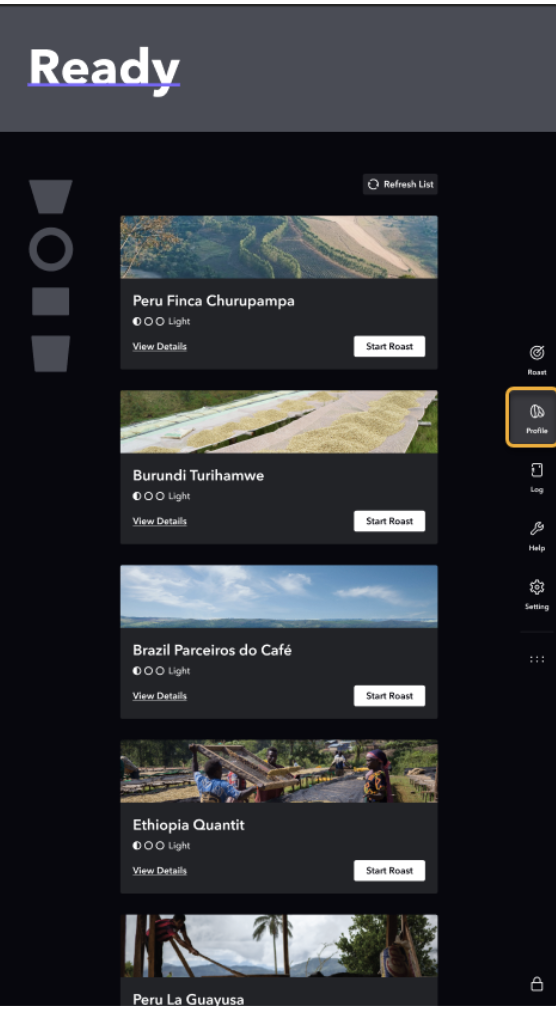
Once the device displays as Ready, select "View profiles" or "Roast" to pull up the profile menu.

From the profile menu you can select any preset profile (from green coffee purchased through Bellwether) or custom profile (self sourced green coffee).

The device will both preheat, and prompt you to add beans to the roaster.

2. Remove the hopper, and add the appropriate green beans for the selected roast profile.
Remember to use both hands for safety and stability!
Warning: Be aware that the hopper may be warm to the touch if you have been roasting consistently.
Warning: Be careful to avoid handling the base of the hopper, or the bottom of the metal funnel after a Roast. They can be hot.
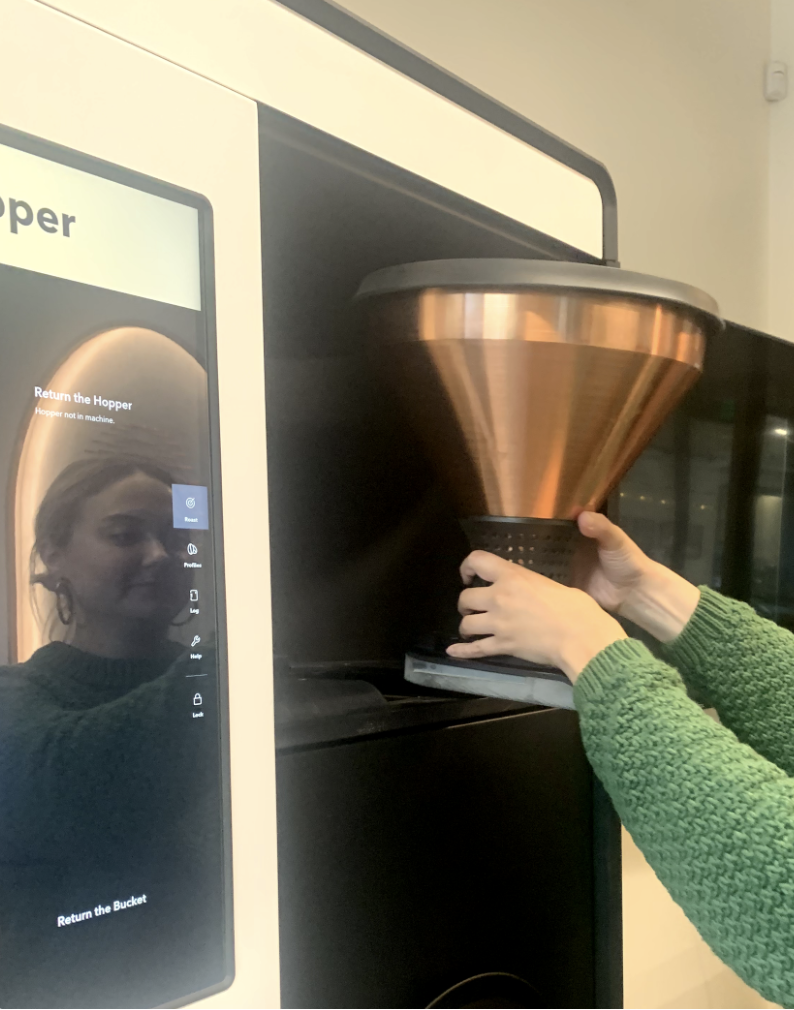
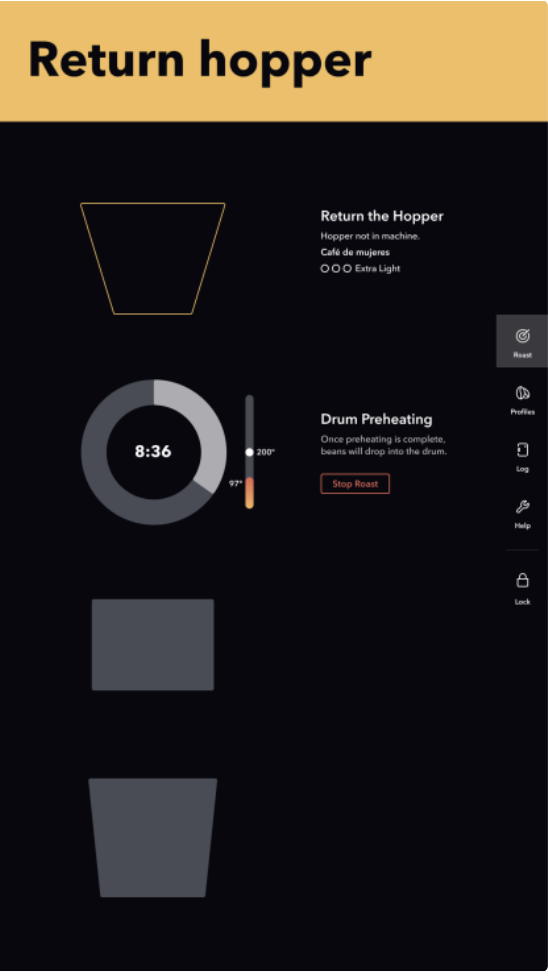
The Bellwether Display screen will prompt you to replace the hopper, showing it as missing.
Place the hopper on a stable surface and remove the lid.
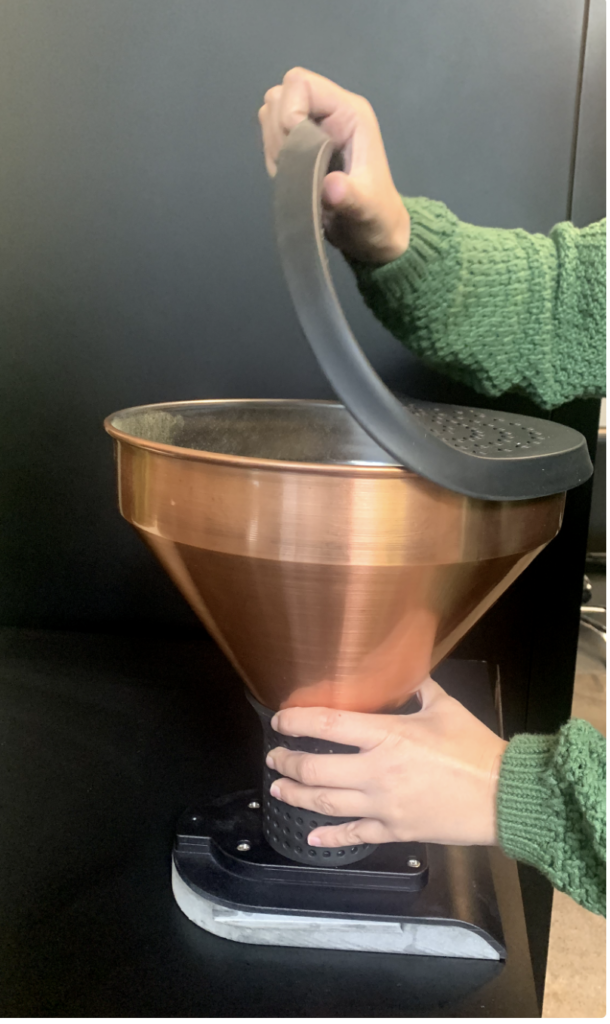
Measure 6 lbs of green beans and add the beans to the hopper.
Warning: Only 6 lbs of beans are allowed at a time. No less, no more.

Replace the lid, and ensure it is tightly sealed.
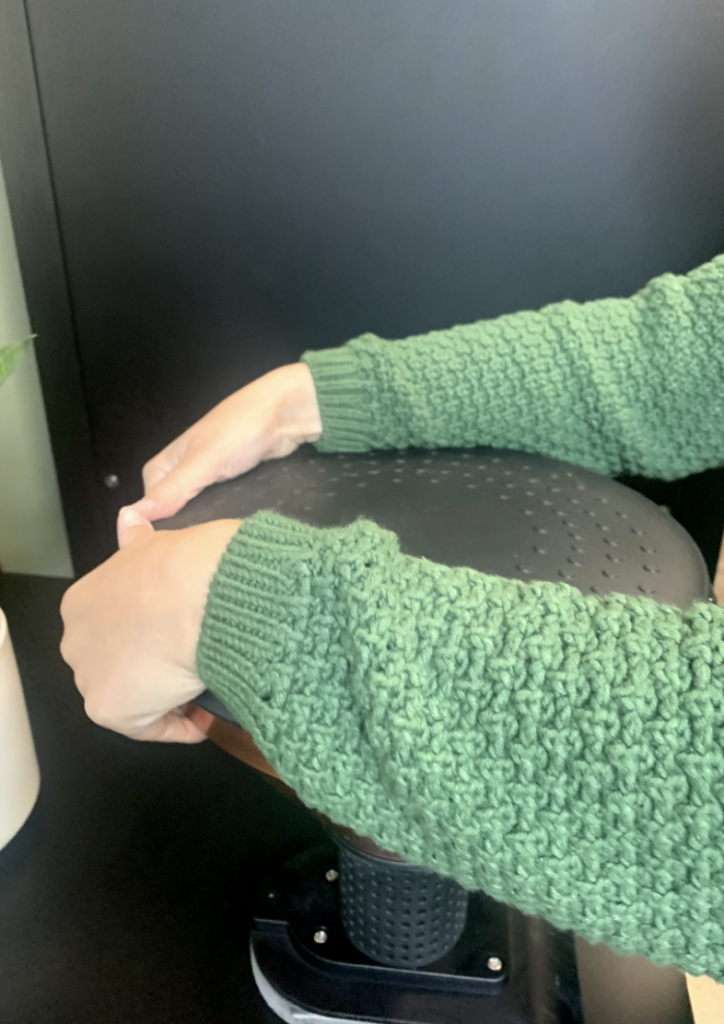
3. Replace the Hopper.
Again, be sure to use both hands!
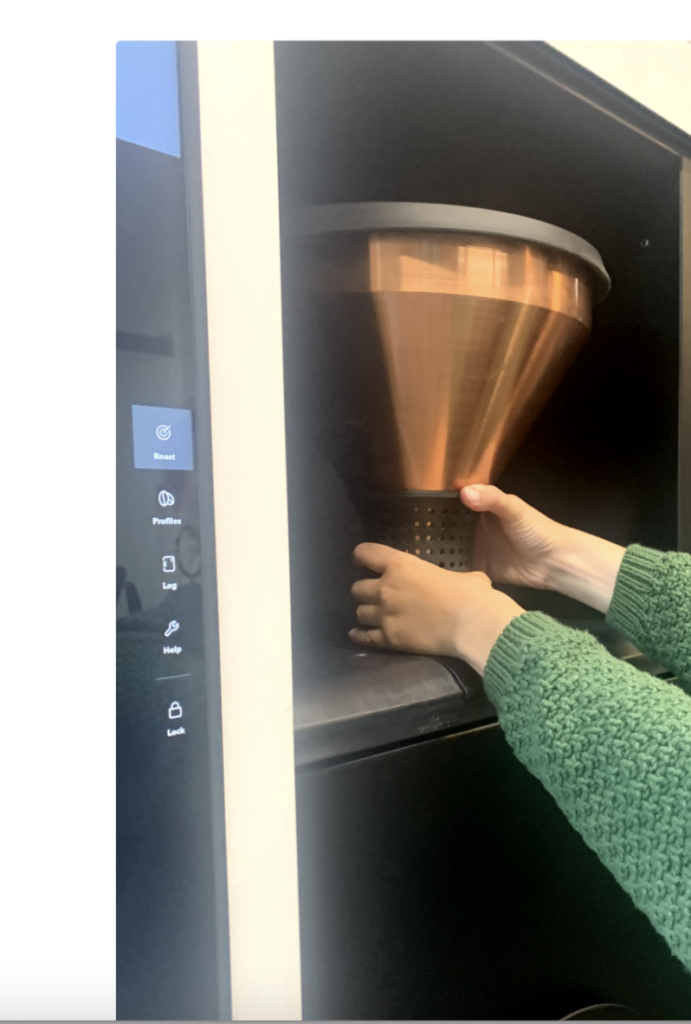
Click the Confirm button on the screen to verify the hopper is replaced and full.

The hopper will display as full, and the machine will display as pre-heating until that step is complete.

4. The roasting process will begin.
The Roaster is ready to roast.
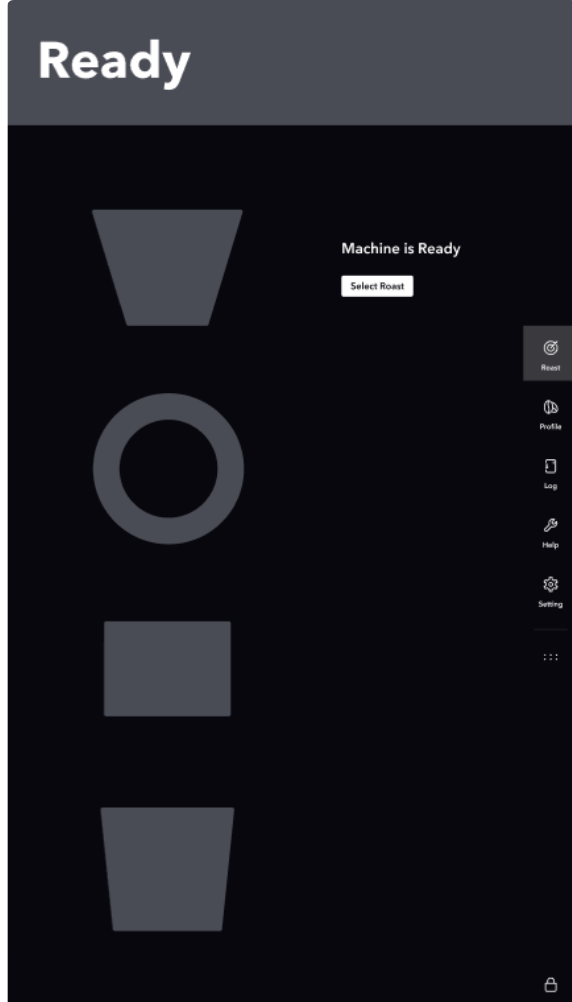
Note: Click Roast Profiles to select a new roast profile. If no roast profile is selected the Roaster will default to the last selected profile.

After roasting, the system will begin a cooling period.
WARNING: DO NOT attempt to open the Bellwether Roaster and/or remove the beans until this process is complete.

When the cooling process completes, the machine will alert you with the following screen.
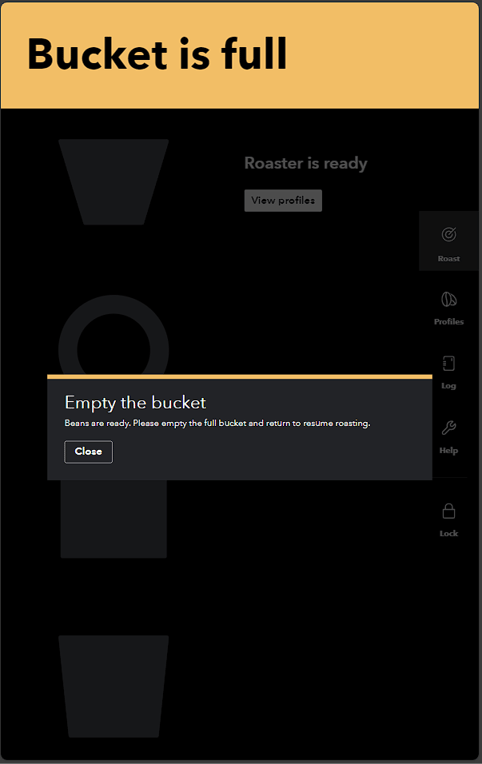
Next, the Roaster will prompt you to Empty Bucket via a prompt. The bucket needs to be absent from the Roaster for 5 seconds before the Empty Bucket prompt will clear.
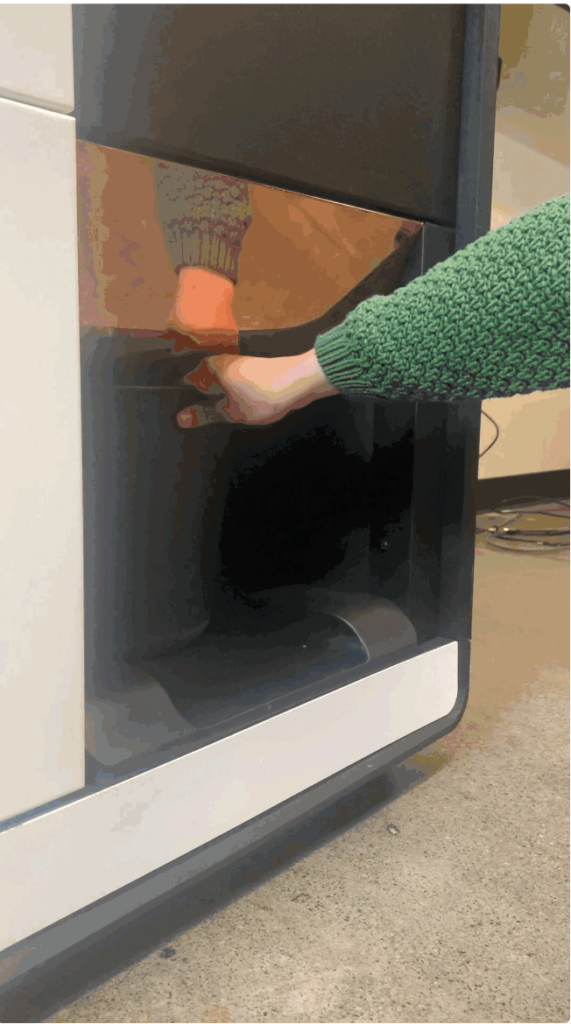
5. You've completed a roast cycle!
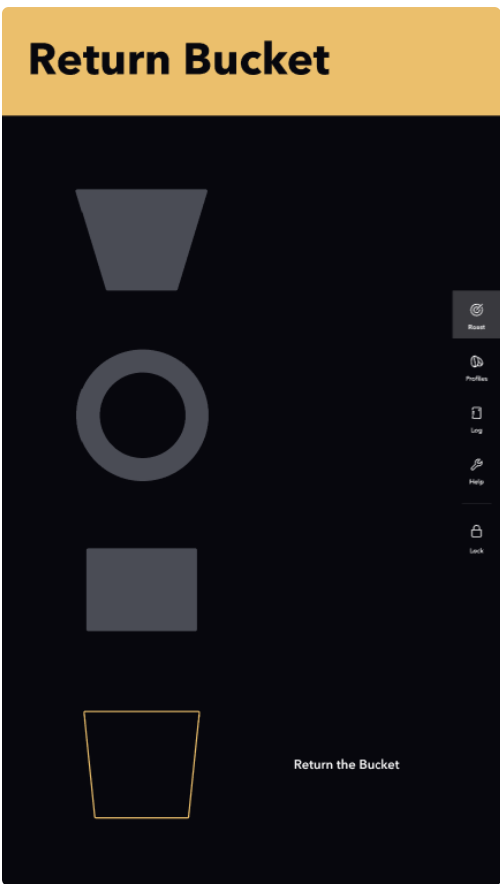
Remove the bucket and empty the roasted beans into a food-grade bag or another food-safe storage container. The Roaster will prompt you to return the bucket. Return the bucket.
